There are three things you need to know to help identify your courses: The Course Code, The Course ID, and the Subaccount.
Course Codes
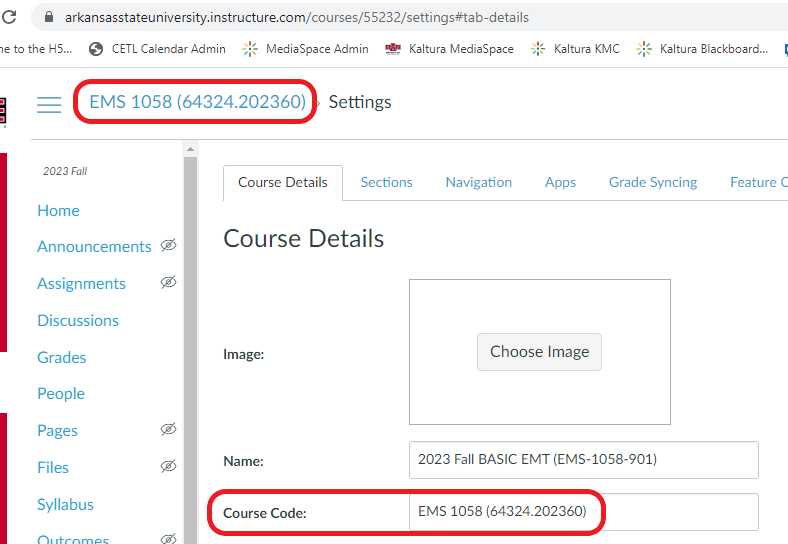
All faculty should see two types of courses in their Course List and Dashboard, Live Shells and Development shells. You can identify which is which by going to the settings of your course, which is always at the end of the Course Navigation menu, and looking for the Course Code field. The Course Code will also be in the Course Breadcrumb menu, clicking it will always return you to Home in the Course Navigation.
Live Shells
Live shells are created by ITS using the course enrollments from Banner. These shells will have Course Codes that include the Course Prefix, Number, and the Banner Course Reference Number (CRN). The CRN is composed of a five digit number that begins with the first digit of the term prefix, 10 for spring, 30 for summer, and 60 for fall, and the term code after the period. The term code is composed of the current year and term prefix. These shells are typically created 3-4 weeks before the start of a term. E.g. 60102.202160 would be the CRN for a class from the Fall 2021 term.
Development Shells
All new faculty are given a few Development shells to build out course materials. These shells will have a Course ID that is composed of your A-State ID number, a period, and a number indicating the order the course was created. These shells are not attached to a course in Banner and are available at all times. You can work in these shells at any time and then copy the materials into the live shells every semester once they are created by ITS.
Course IDs
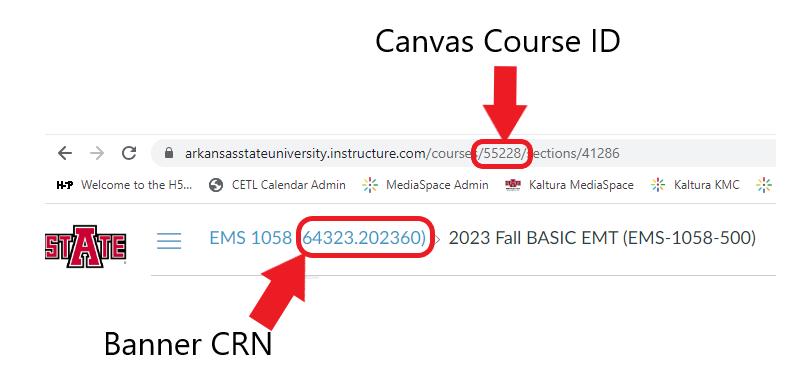
While the Course Codes are generated by the course information from Banner, Canvas also has its own internal way of identifying courses, the Course ID. This ID can be helpful to know when you are wanting to Crosslist classes, as this is not a editable field and will be unique for every shell. To find the Course ID you have to find the number that is after the word courses in the browser address bar while in the course.
Subaccounts
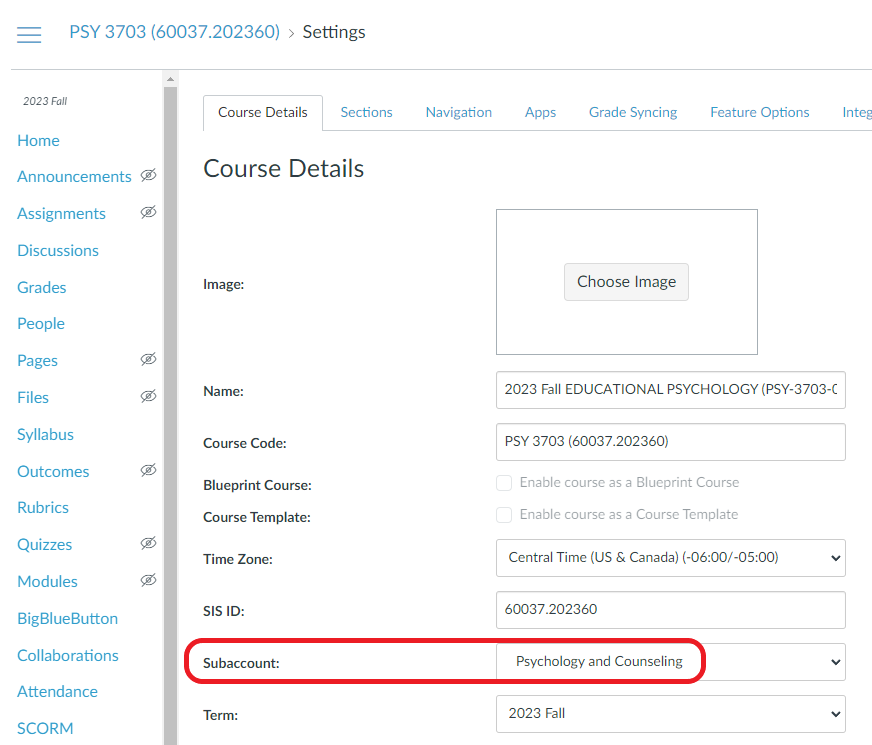
The final thing to know to help identify courses is which Subaccount the course is in. ITS has setup subaccounts within our Canvas instance for each department. This allows them to deploy department specific integrations with publishers or other third party tools, as well as making some administration and report processes simpler. This is important to know because there are some things that can't go across subaccounts and we may need to know your subaccount in order to find your course when helping troubleshoot issues with you. You can find the sub account by going to the settings of your course, which is always at the end of the Course Navigation menu, and looking for the Subaccount field.


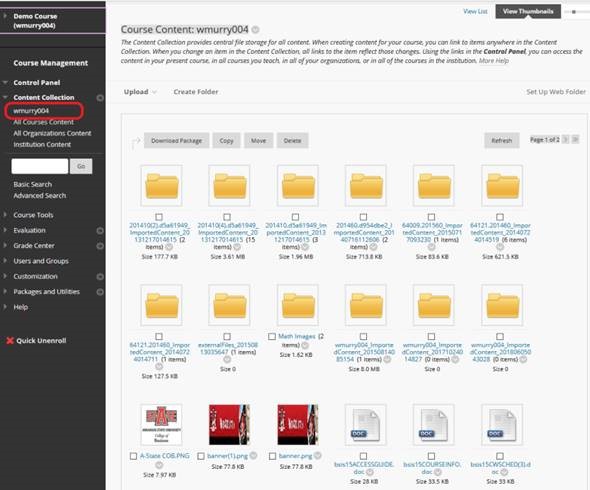
 To fix this issue in Canvas, first check the Files area of your course.
 Canvas Resources